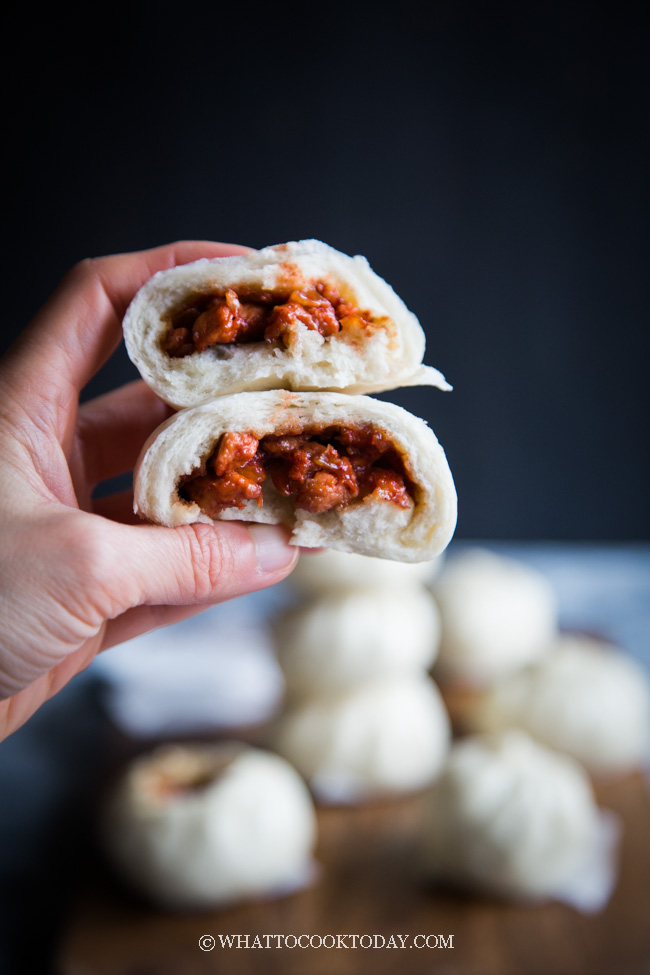
Steamed Char Siu Bao (Chinese BBQ Pork Buns) is one of our favorites in the house. My two kiddos love char siu.
When you have a good soft and fluffy steamed buns recipe on hand, you just need to make the sweet char siu filling and you are all set for steamed char siu bao.

1. The buns
You can read more in detail about how to make soft and fluffy steamed buns. I use this basic steamed buns recipe in all my other steamed buns with different filling varieties.
2. The filling
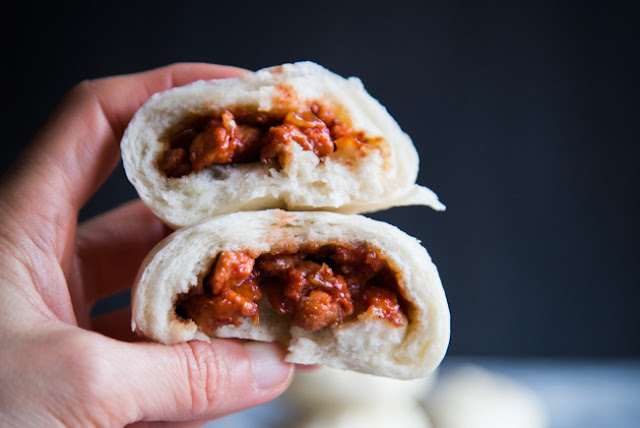
The nemesis of filled steamed buns is wet filling. The wet filling will cause the steamed buns to wrinkle and also creates some burn spots. The filling in this recipe is thickened with flour so it’s easier when you wrap and the buns whole its shape when being steamed.
3. Let the dough rise once
This recipe requires that you proof the buns only once.

HOW TO MAKE GOOD CHAR SIU FILLING
Making char siu filling is really easy. You can make homemade char siu few days before you plan to make char siu bao.
The sauce used to make char siu filling is very similar to the marinade you use to make char siu: onion, hoisin sauce, oyster sauce, and sugar. I like to add onion because it adds extra flavor and sweetness to the filling.
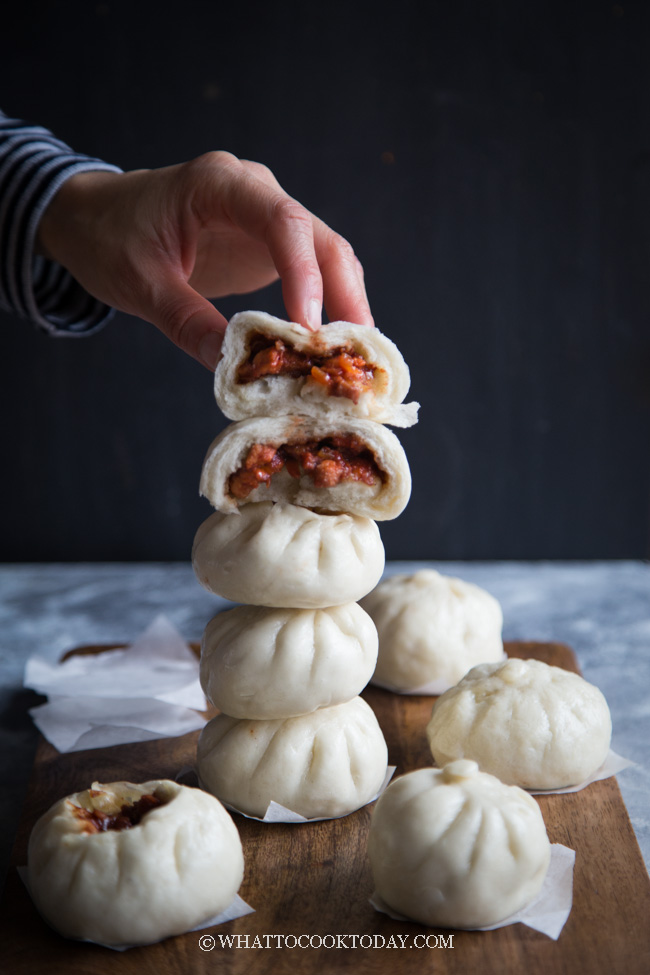
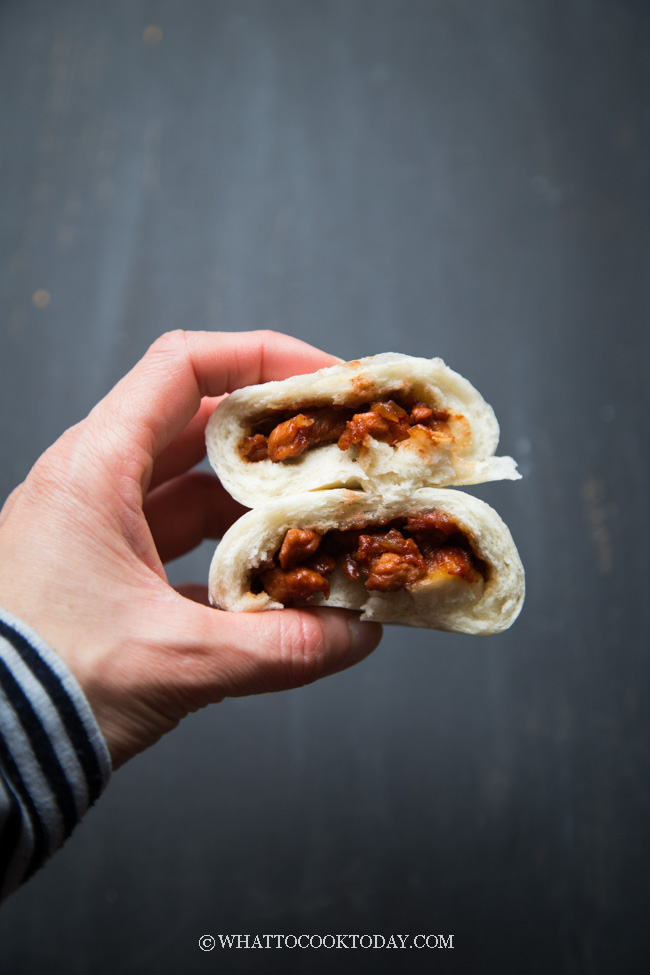

WHAT MAKES CHAR SIU FILLING RED IN COLOR?
The red is really only for coloring. Red is one of the colors that is considered good or lucky for most Chinese. I use red yeast rice powder that my mom brought me from Singapore. I know some people just use red food coloring. You can totally not use any red color at all. The most important thing is the taste of the char siu itself. The color doesn’t alter the taste in any way. In the video, I did not use any coloring and the filling is brownish in color.
Soft Fluffy Char Siu Bao (Chinese Steamed BBQ Pork Buns)
INGREDIENTS
▢ 1 Basic steamed buns recipe
Filling:
▢ 400 gr Chinese bbq pork - about 1 lb, dice into small pieces
▢ 1 small onion - peeled and finely chopped
▢ 1 Tbsp cooking oil
▢ 1 tsp red yeast rice powder - optional, for red color
Seasonings for filling:
▢ 1 Tbsp oyster sauce
▢ 2 Tbsp hoisin sauce
▢ 2 Tbsp sugar
▢ 2 Tbsp all-purpose flour
INSTRUCTIONS
Making the filling (can be made ahead):
Mix all the ingredients for sauce, except for the flour, for cooking the filling in the bowl. Set aside. Preheat your wok or skillet over high heat. Add in the oil. Add onions and saute until fragrant and soft, about 3 minutes. Add the BBQ pork and pour in the sauce and red yeast rice powder (if using) and stir to mix. Sprinkle in the flour. The pork mixture will start to thicken and glue together. Have a taste and add more sugar if needed. It should be more sweet than savory. Turn off the heat and let it completely cool before wrapping
Wrapping:
Once you have the basic steamed buns dough , divide the dough into 12 equal pieces. Lightly flour your work surface. Work with one dough at a time and cover the rest. Flatten the dough with your palm and then use a rolling pin to roll it out to form a circle about 4-5 inches, with a slightly thicker middle part. This is to support the weight of the filling. Don't roll the dough too thin. If you roll the dough too thin, the filling might make the steamed buns "wrinkle" later when you steam
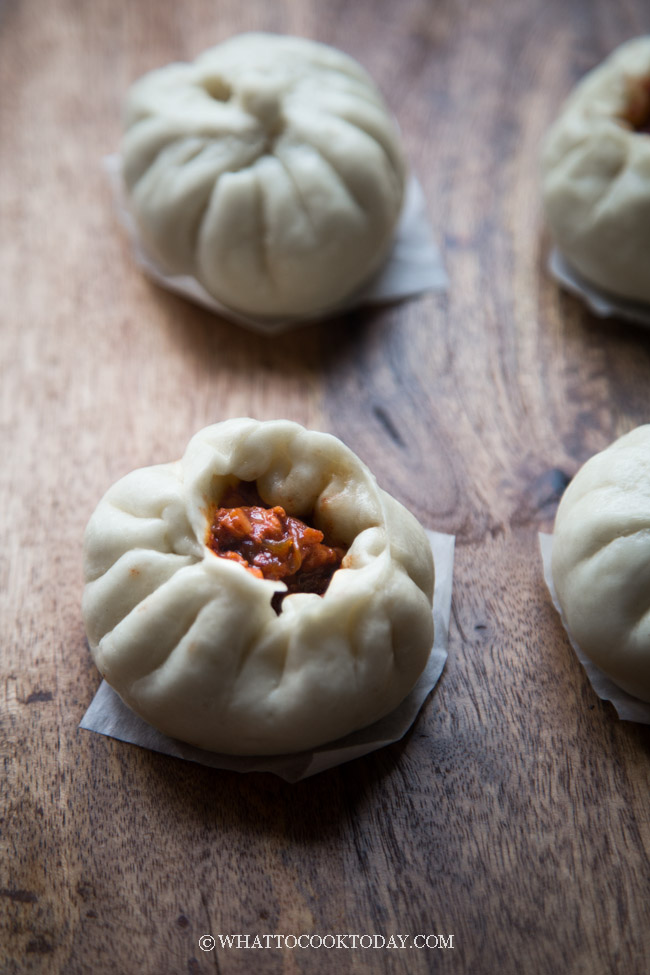
FOR ROUND SHAPE: Place about 1 to 2 Tbsp of char siu filling in the middle and gather the edge to enclose into a round ball and place the seam side down. Cup the dough with both palms and move the dough in a circular motion to shape it taller. This part is important so your steamed buns come out tall instead of spreading to the side after steaming
Place on a piece of parchment paper. Lightly dab the surface of the bun with some milk using your finger to smooth the surface. Loosely cover with a clean cloth to prevent drying. Work with another dough and do the same
IF YOU WANT TO PLEAT SOME PATTERNS: Place the char siu filling in the middle. Create a fold around the edge and then pinch to seal. Cup the dough with both palms and move the dough in a circular motion to shape it taller. This part is important so your steamed buns come out tall instead of spreading to the side after steaming
Place on a piece of parchment paper. You don't need to dab the surface with milk if you have patterns. Loosely cover with a saran wrapper to prevent drying. Work with another dough and do the same
Proofing:
Let the shaped buns proof until about 50% double its original size. They don't have to double in size. This may take about 15 minutes, but please don't go by the time, just observe to make sure the buns have puffed up to half its original size and feel lighter, before steaming or the buns will be tough. Don't overproof them as well.
Steaming:
Most likely your steamer won't be able to accommodate steaming all buns at one go. You may need to steam in 2-3 batches, which means, the rest of the batches will sit longer and continue to proof while waiting for the steamer. Not good for the buns! Here's what you can do: Make sure the cover them with plastic wrap and then place them in the refrigerator to slow down the yeast activity or halt it all together until they are ready to be steamed
Bring the water in a steamer to a boil. Wrap the lid with a cloth. This will prevent water dripping from the lid creating burn spots. Place some of the buns on the steamer. Lower the heat to MEDIUM. Close the lid and leave about 1/4-inch of gap to let some steam escapes. Steam on MEDIUM heat for about 15 minutes. Turn off the heat and wait for 5 minutes and then remove steamed buns from the steamer to cooling rack. This will prevent the bottom from getting wet and soggy.
Storing:
If you make extra and plan to store them, once the steamed buns have cooled down, place them on a baking sheet not touching each other and put them inside the freezer for 1 hour then transfer to a freezer bag
Reheating:
They can be reheated in the steamer without thawing. Steam over high heat for 5 minutes
This recipe and image sources are referred in website: Whattocooktoday.com. Thanks so much!
 Asian Recipes
No comments :
Speak Your Mind: